Capital Request Approvals
To view all available Capital Request Approvals in the system, navigate to the  and then click on the
 ![]() icon. The
Capital Request Approval Lookup screen.
icon. The
Capital Request Approval Lookup screen.
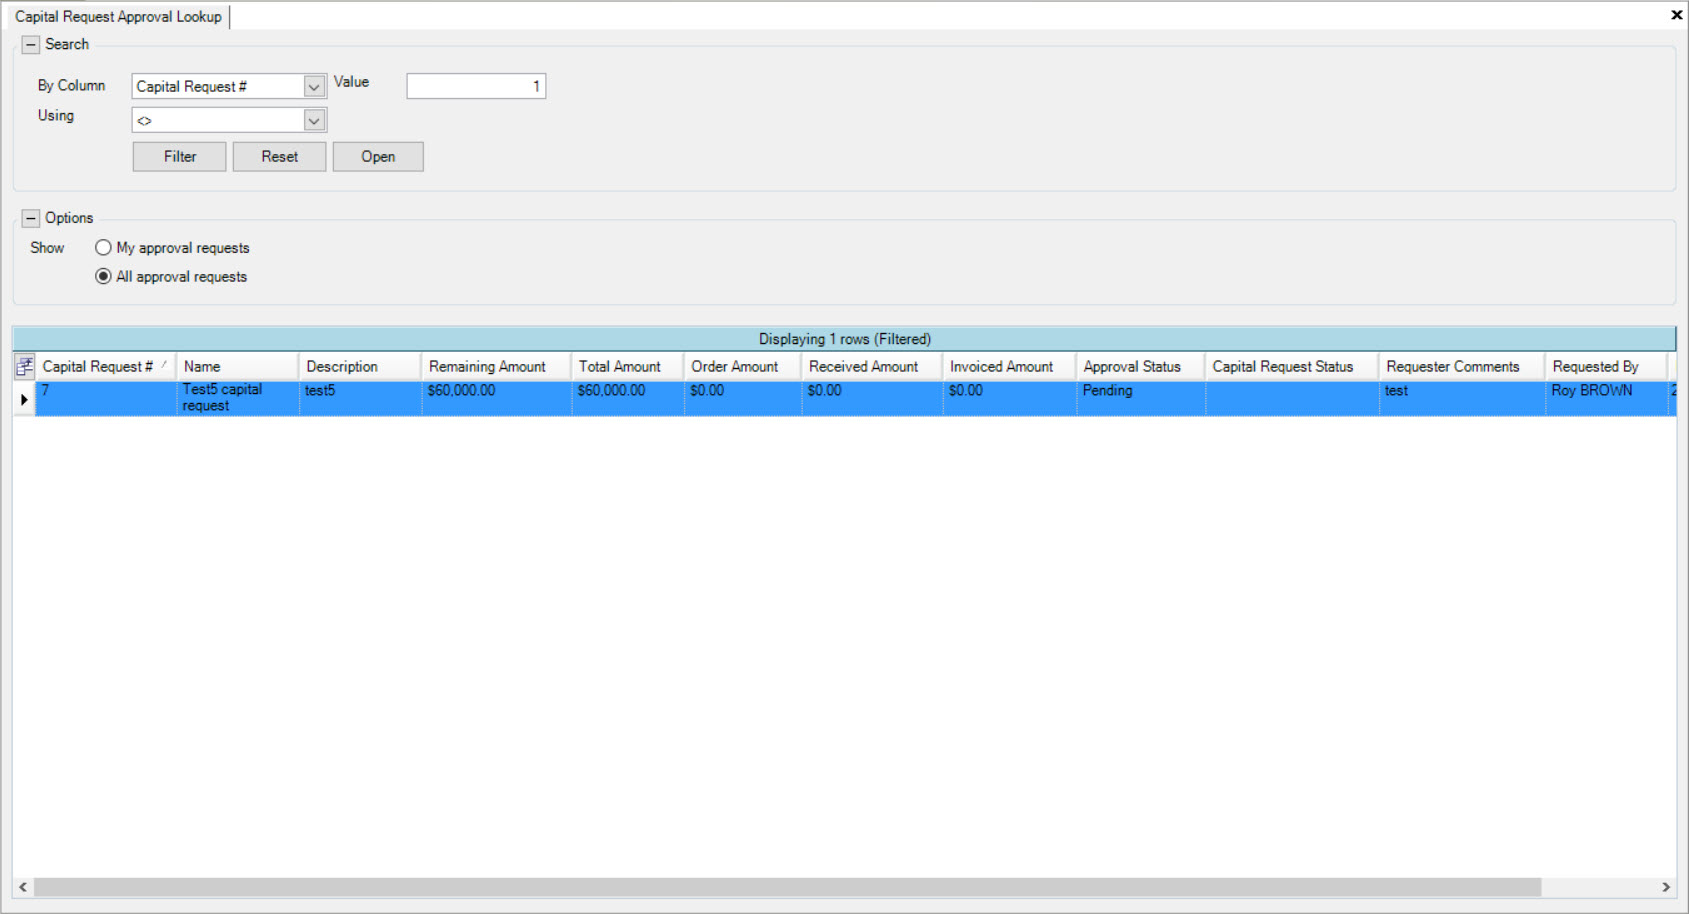
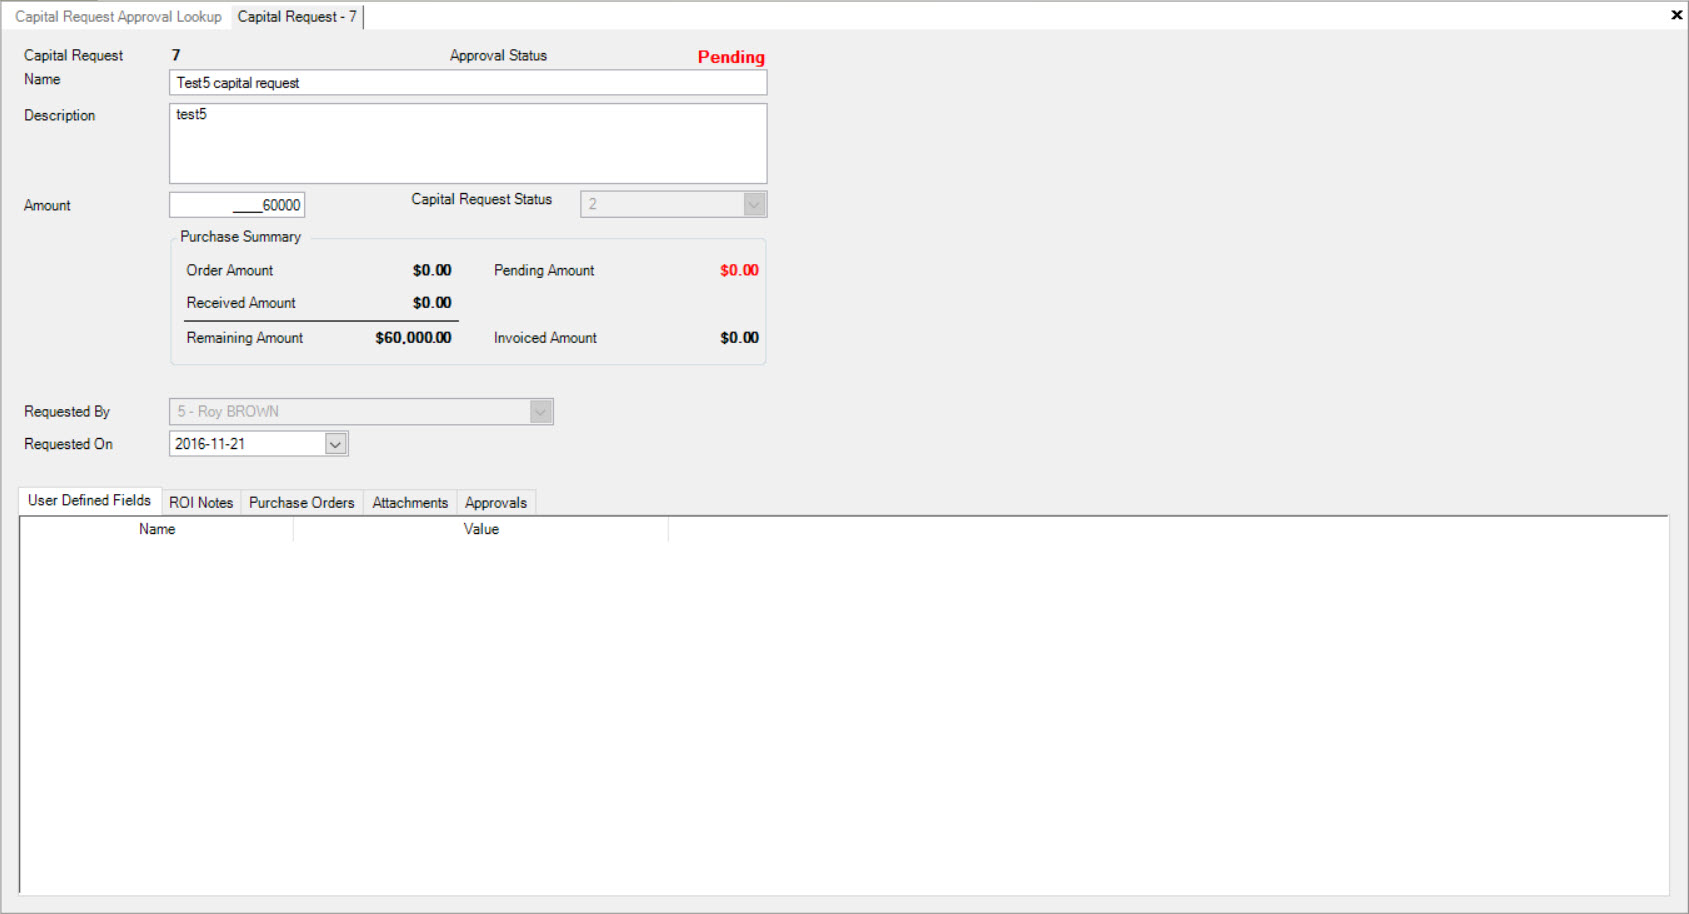
To view the details of a Capital Request, simply double-click on the appropriate row. The Capital Request detail screen will appear.
Creating a New Capital Request
There are two ways to create a new Capital Request. The first way is to navigate to File > New > Capital Request and the second way is to click on the  button and then on the Capital Request option.
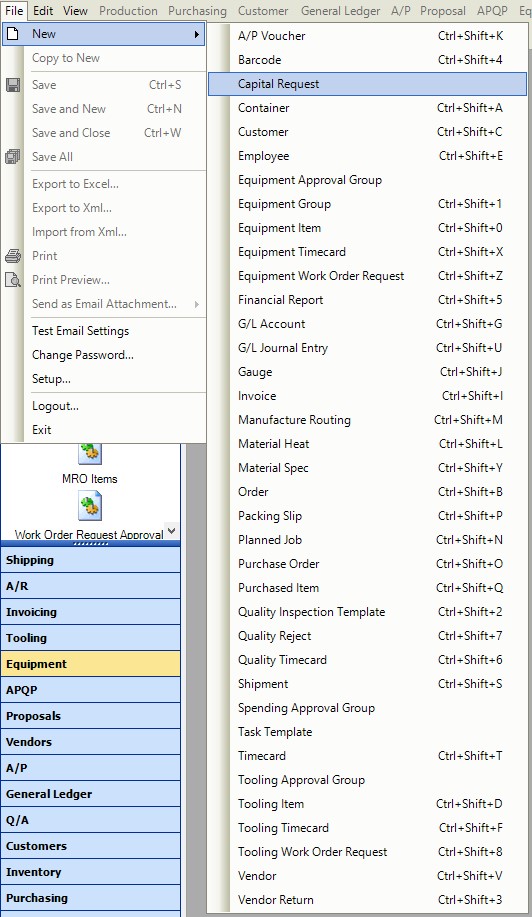
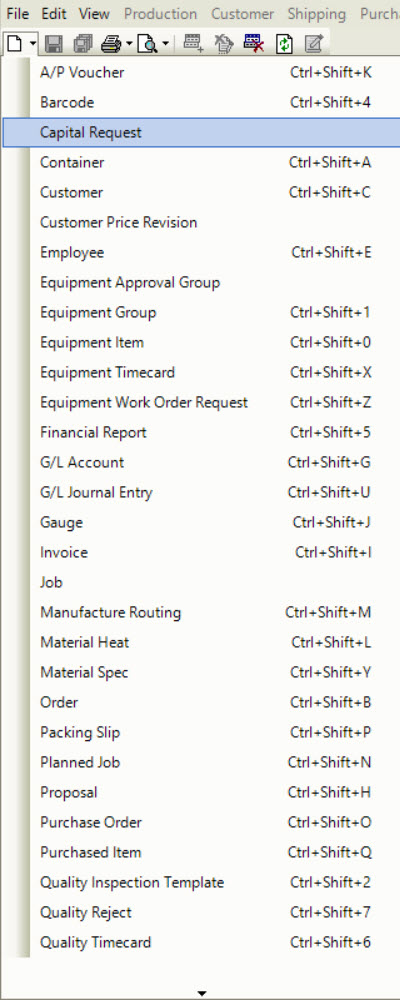
Both of these options will open a new Capital Request screen.
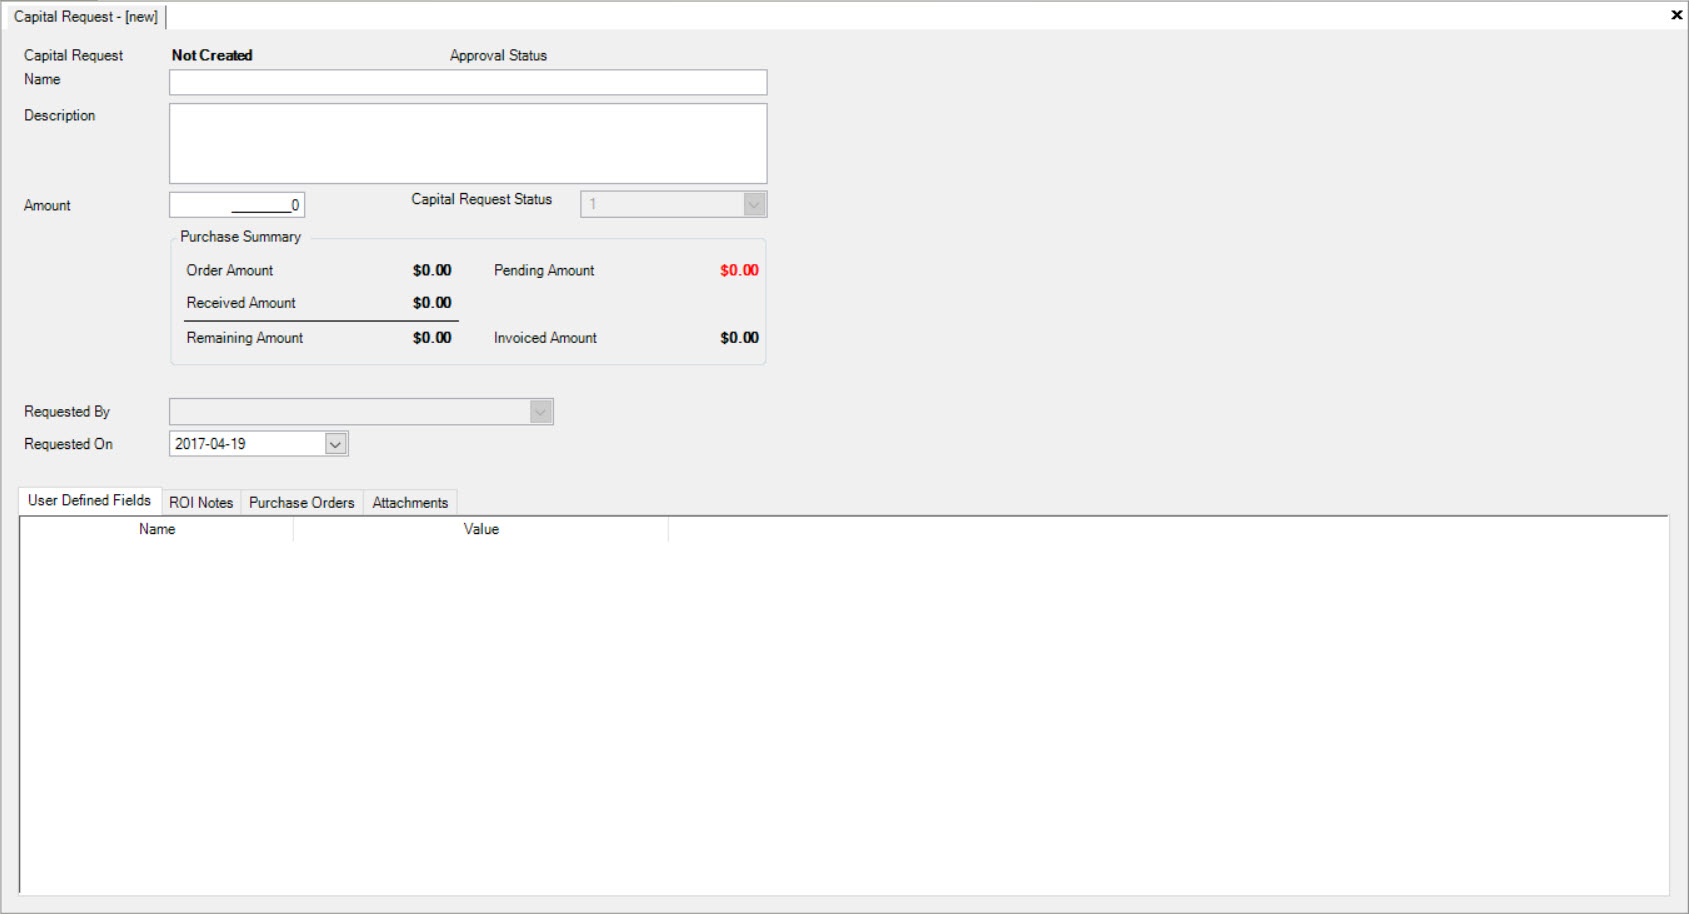
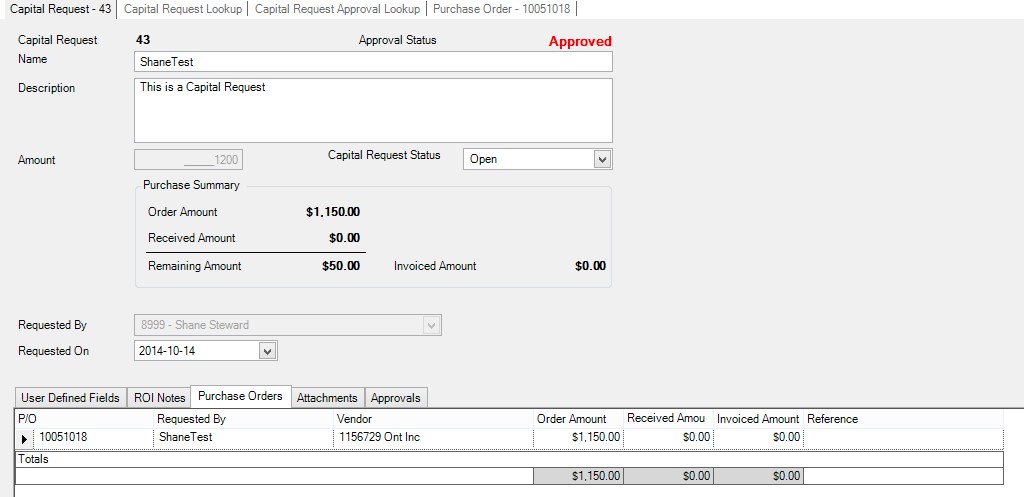
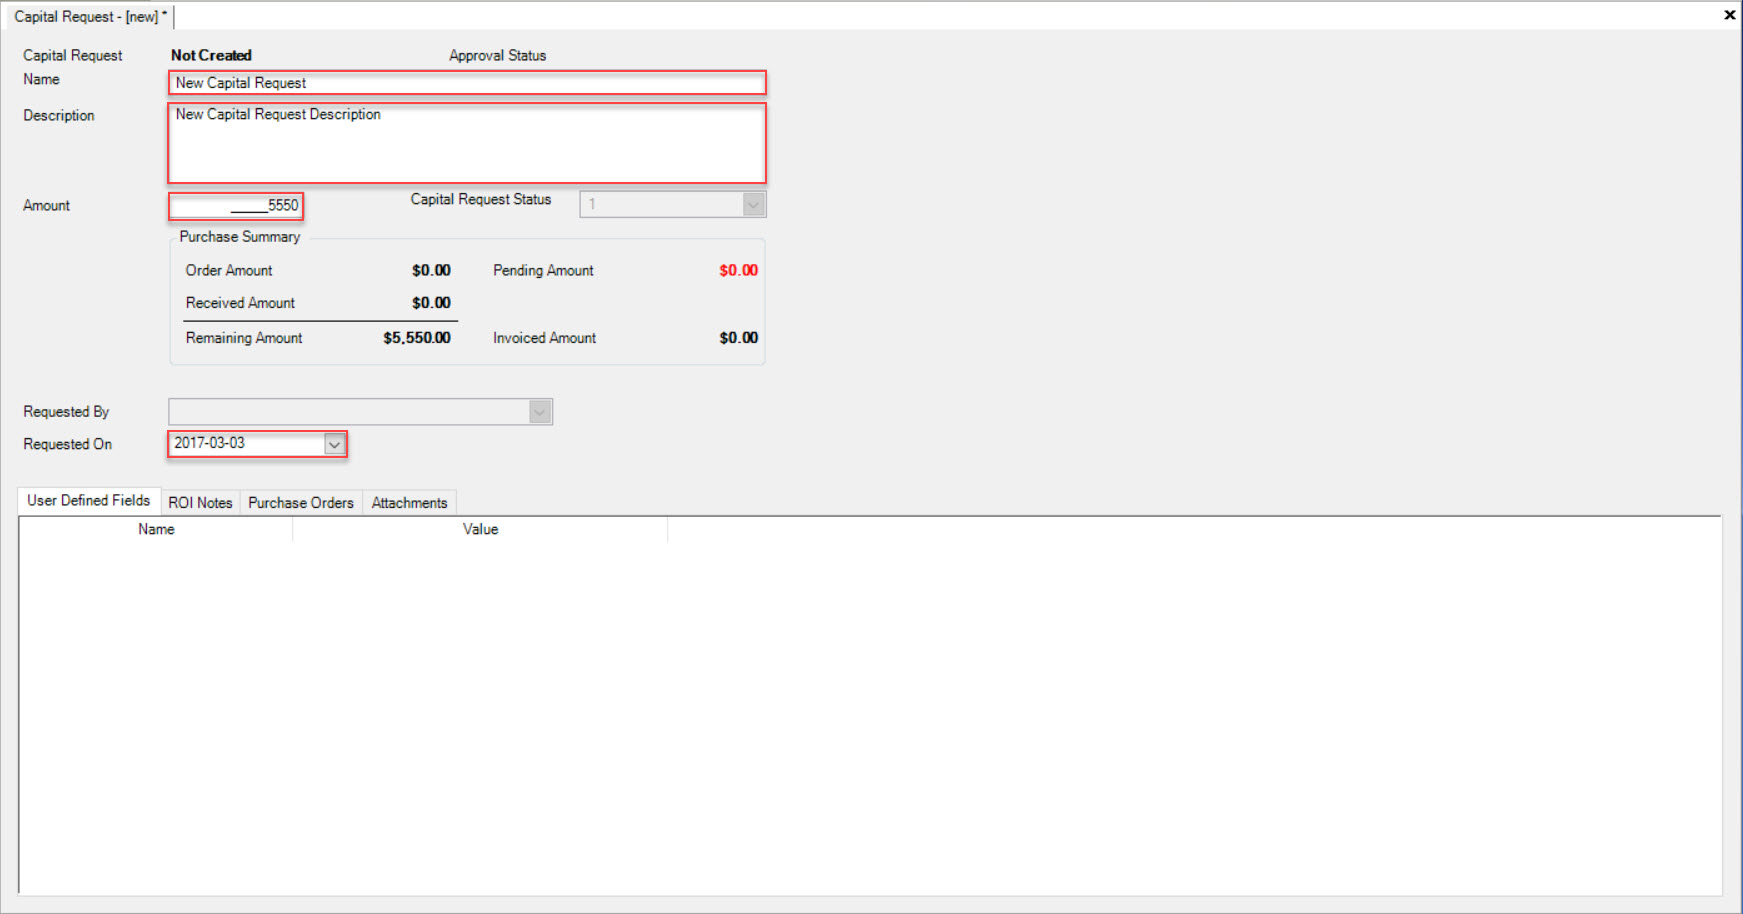
Users must fill in a Name, Description, and Amount. A Requested-On date must be selected as well.
User Defined Fields
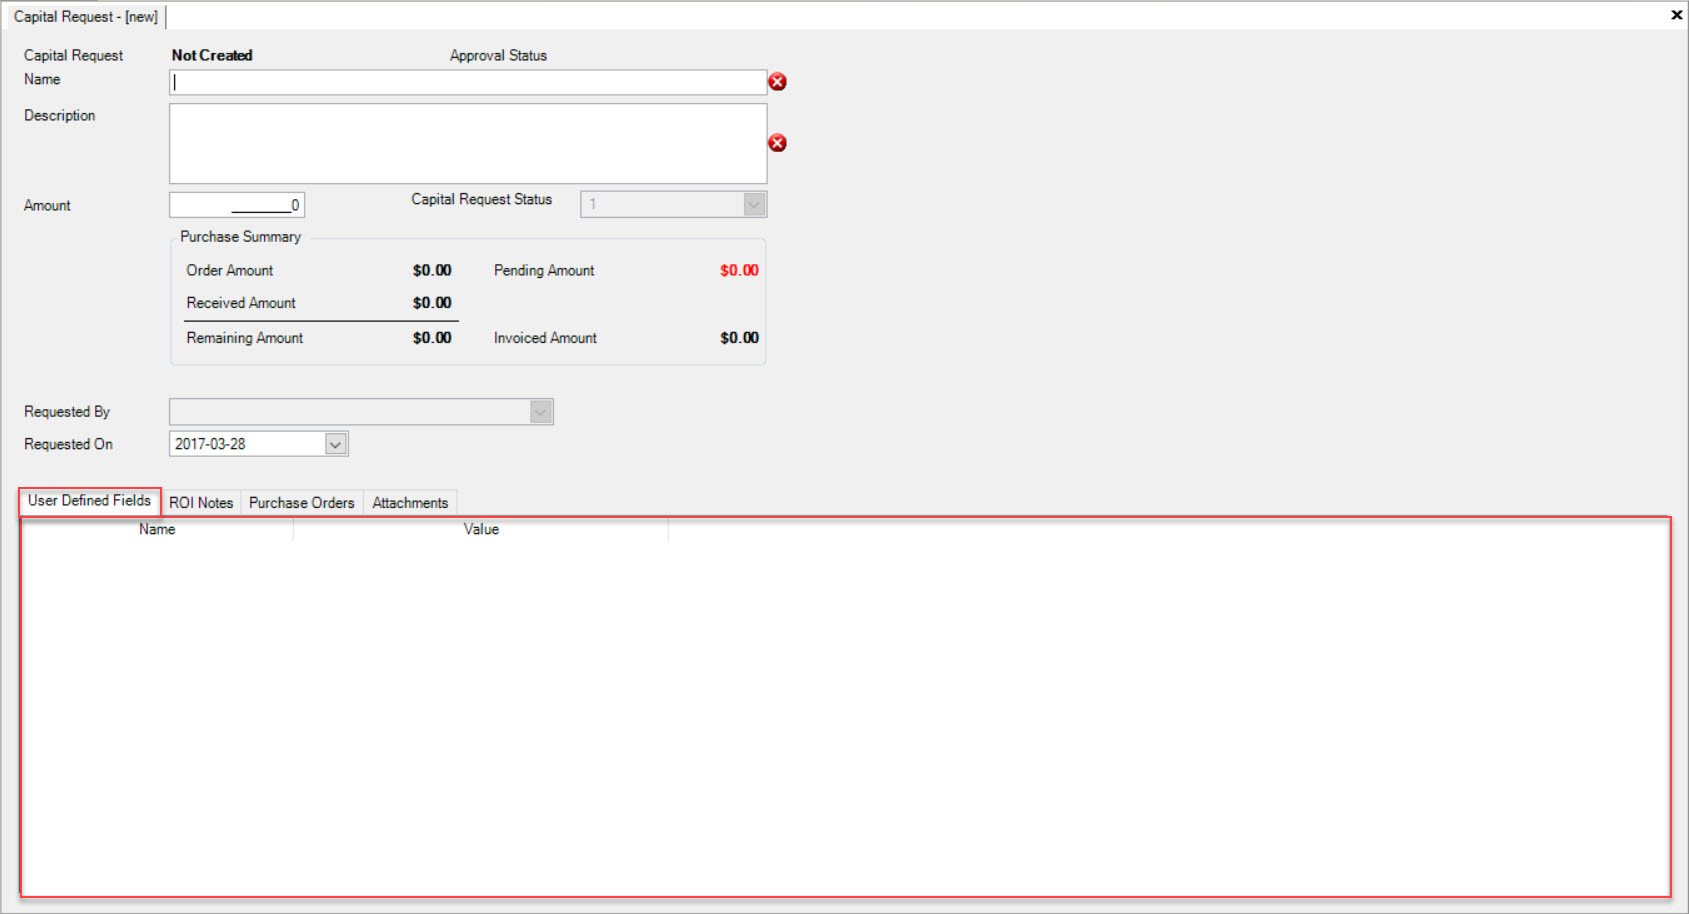
If users wish to view User Defined Fields for a new or existing Capital Request, the  tab located on the Capital Request screen must be
selected.
Note
User Defined Fields will not appear unless they have been added under the Admin section in the Purchasing module.
The system will show the Name and Value of each User Defined Field where applicable.
ROI Notes
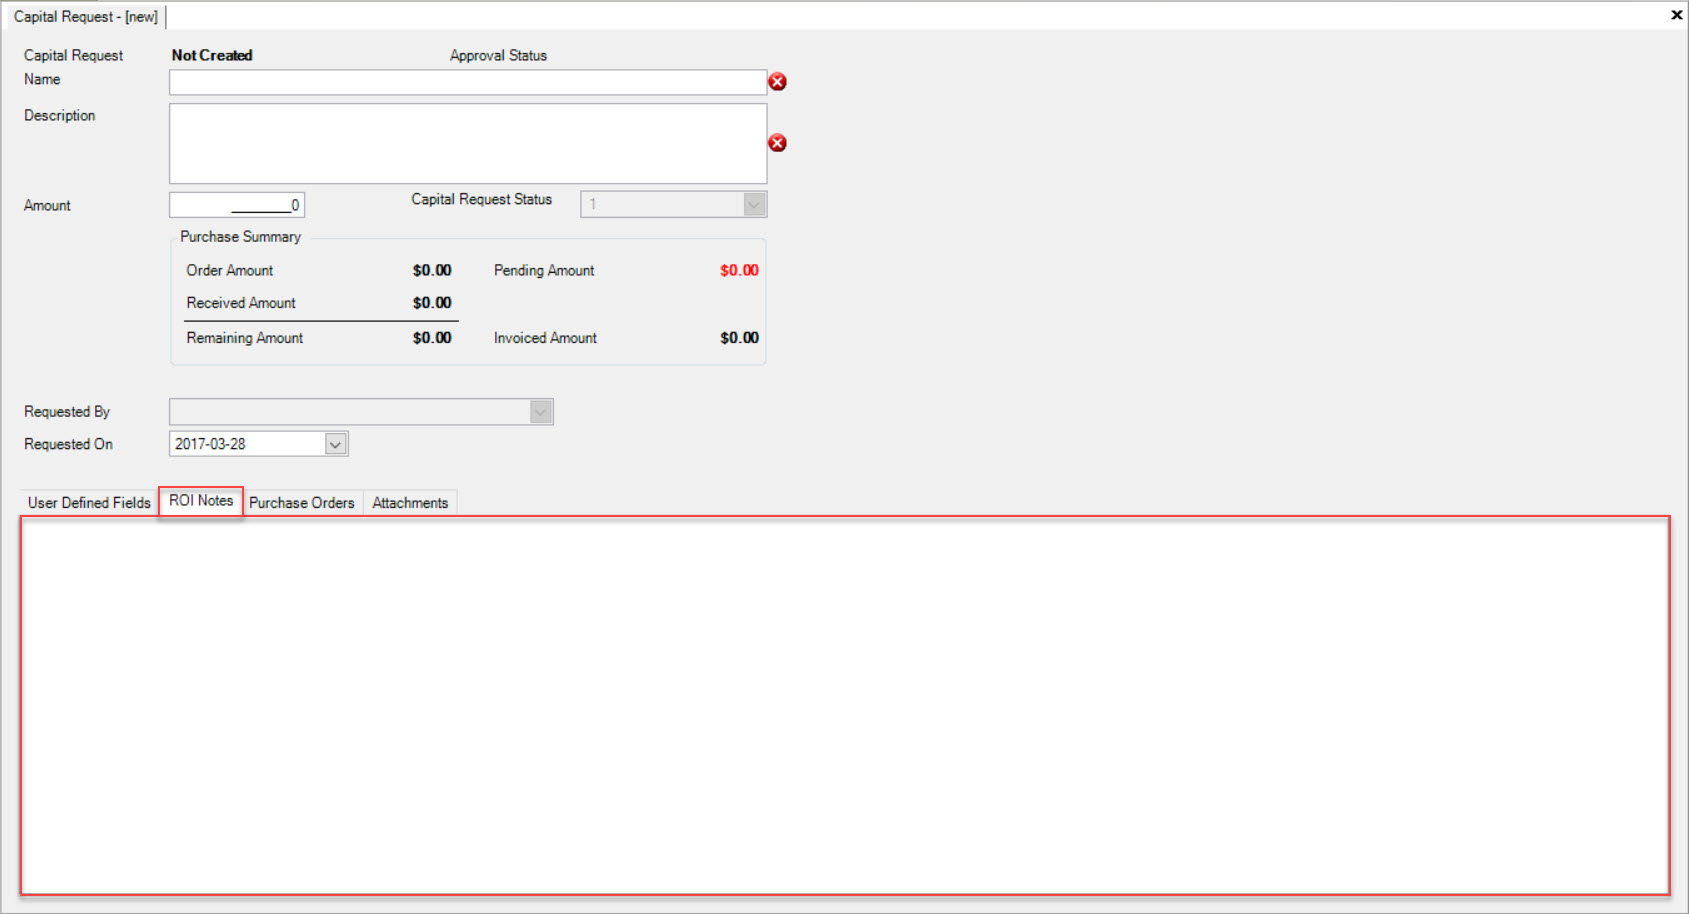
If users wish to add, edit, or delete ROI Notes to a new or existing Capital Request, the  tab located on the Capital Request screen must be selected.
Simple use the available textbox to add, edit, or delete ROI Notes if necessary.
Purchase Orders
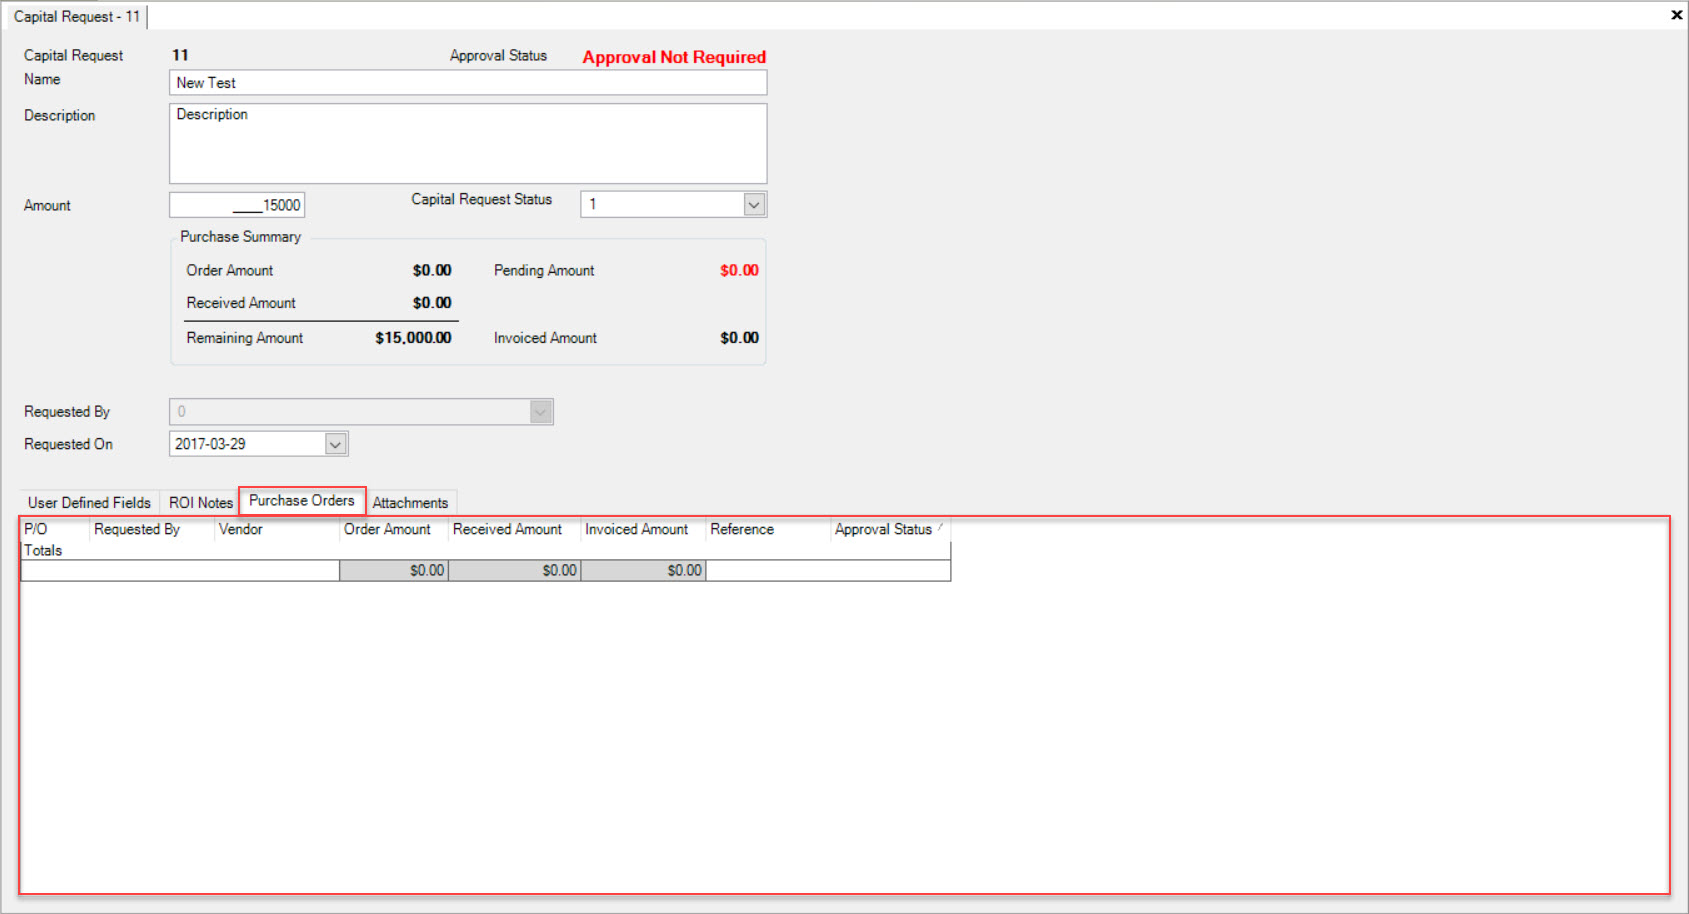
To view the Purchase Orders on a new or existing Capital Request, the  tab located on the Capital Request screen must be selected.
The available Purchase Orders will be displayed with details such as the P/O, Request By, Vendor, Order Amount, Received Amount, Invoiced Amount, Reference, Approval Status, and the overall Totals.
Adding Attachments
To add an Attachment to a new or existing Capital Request, select the  tab located on the Capital Request screen.
Then, click on the  button located at the bottom of the screen.
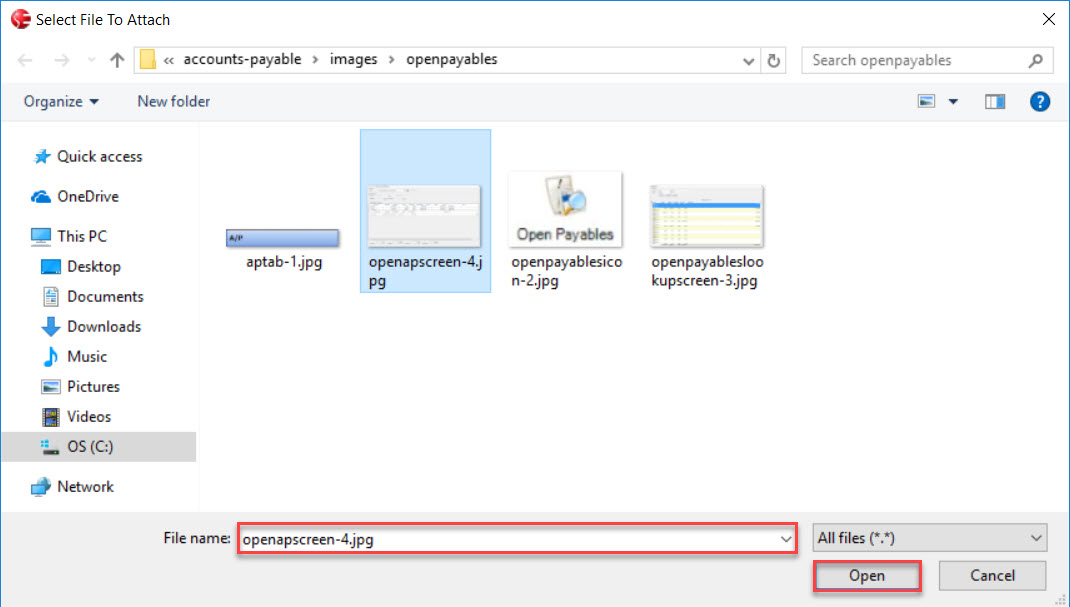
Users will be able to select an Attachment from their computer. Simply select an Attachment and click on the  button.
The selected Attachment will be added to the Capital Request.
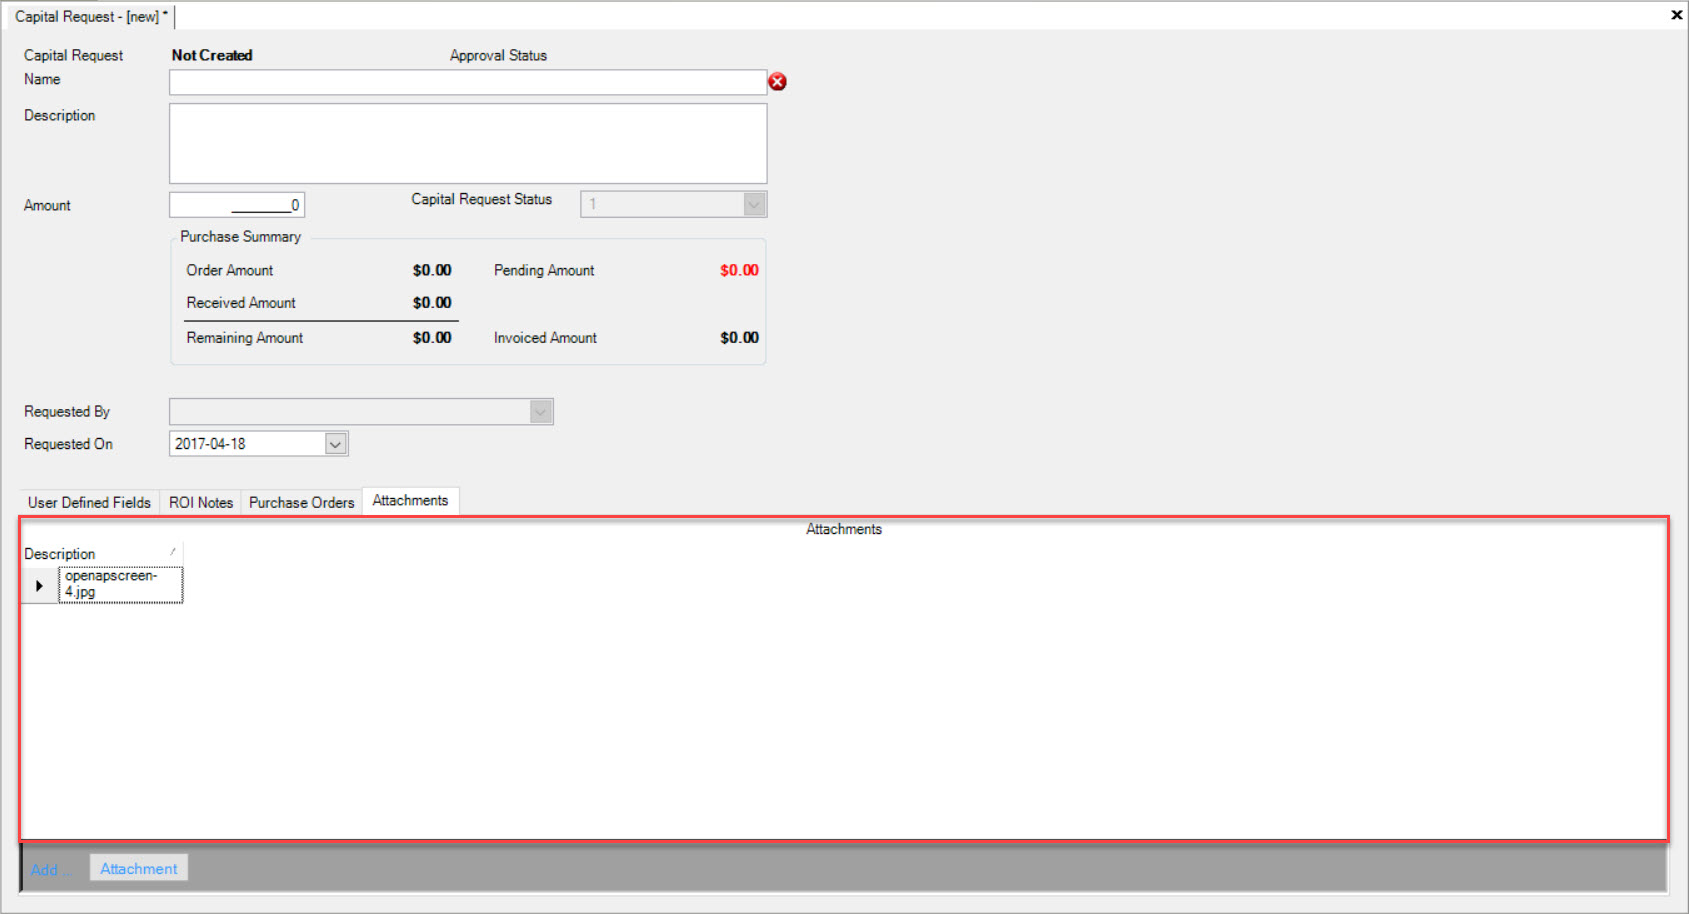
Make sure to save your changes before exiting the screen.
Users also have the ability to delete an Attachment if necessary.
Simply highlight the row of the Attachment you wish to delete. Use your Delete key and when the system prompts you, select Yes.
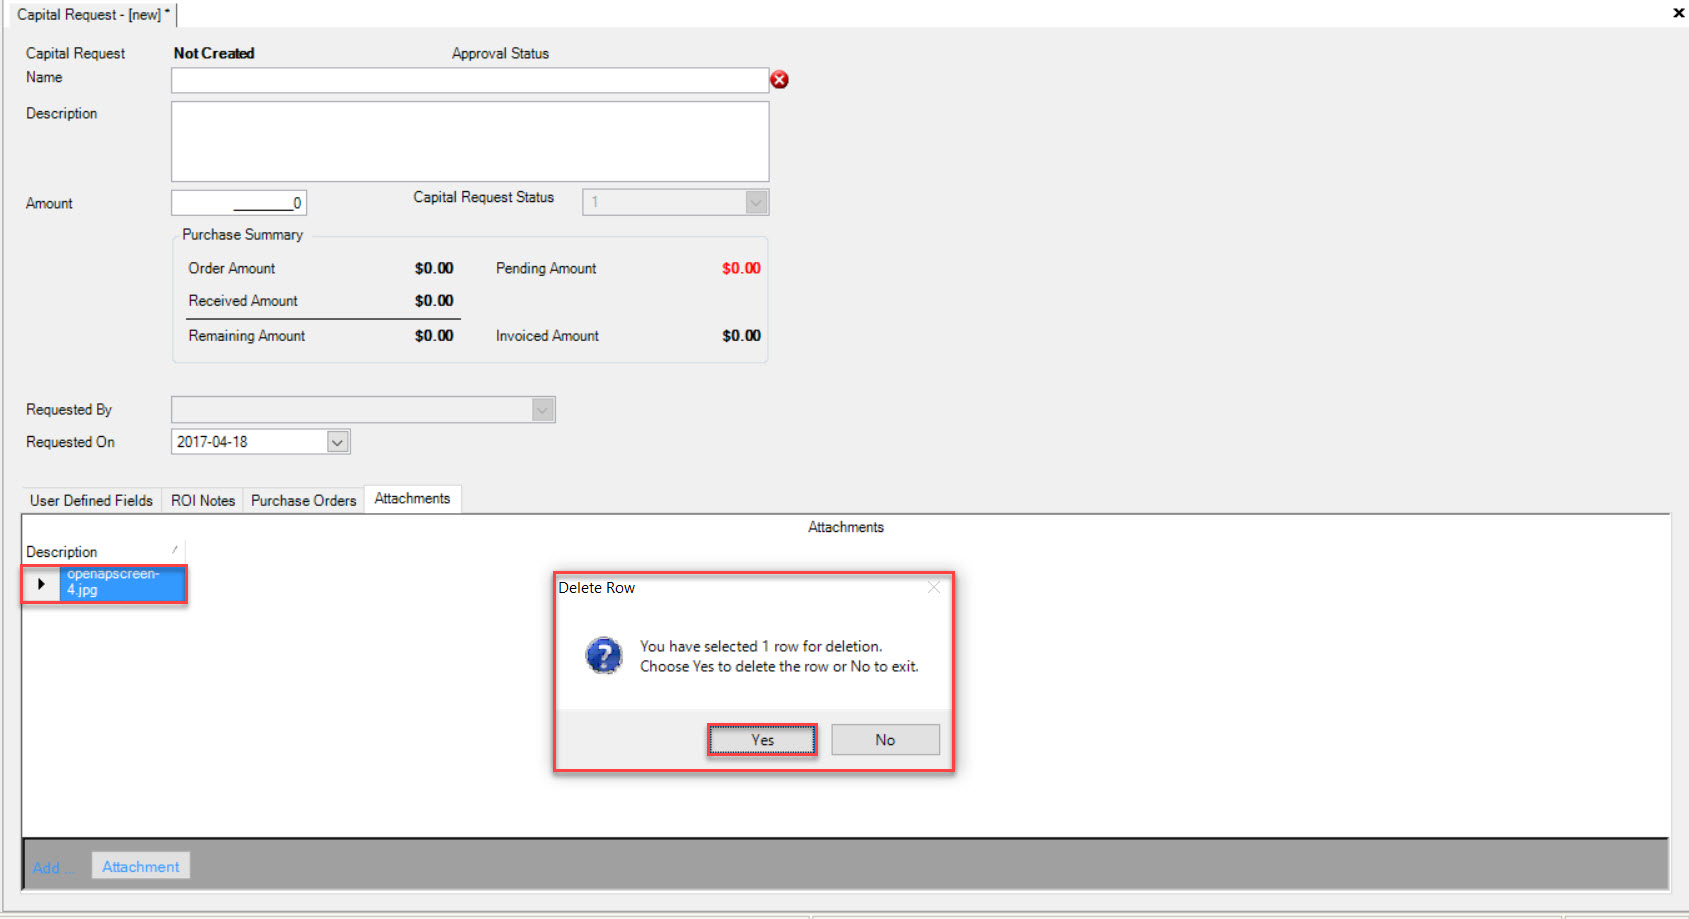
The highlighted Attachment will be deleted.
Make sure to save your changes before exiting the screen.
Approval Status
If a user’s new Capital Request was successful, the status will be set to Approval Not Required. However, if a user receives a Capital Request # window then, the Capital Request Approval Status will be set to Pending.
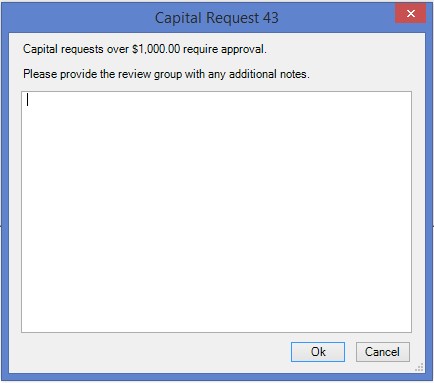
The user who created the new Capital Request that is now Pending, will need to have someone else with approval permissions to approve it. Once someone else has approved the new Capital Request, the approval status will change to Approved.

The user can now find their Capital Request under Purchasing > Capital Requests.
Approval Groups
To view assigned Approval Groups for a Capital Request, navigate to the  and then click on the
 ![]() icon. The Capital Request Approval Lookup screen.
icon. The Capital Request Approval Lookup screen.

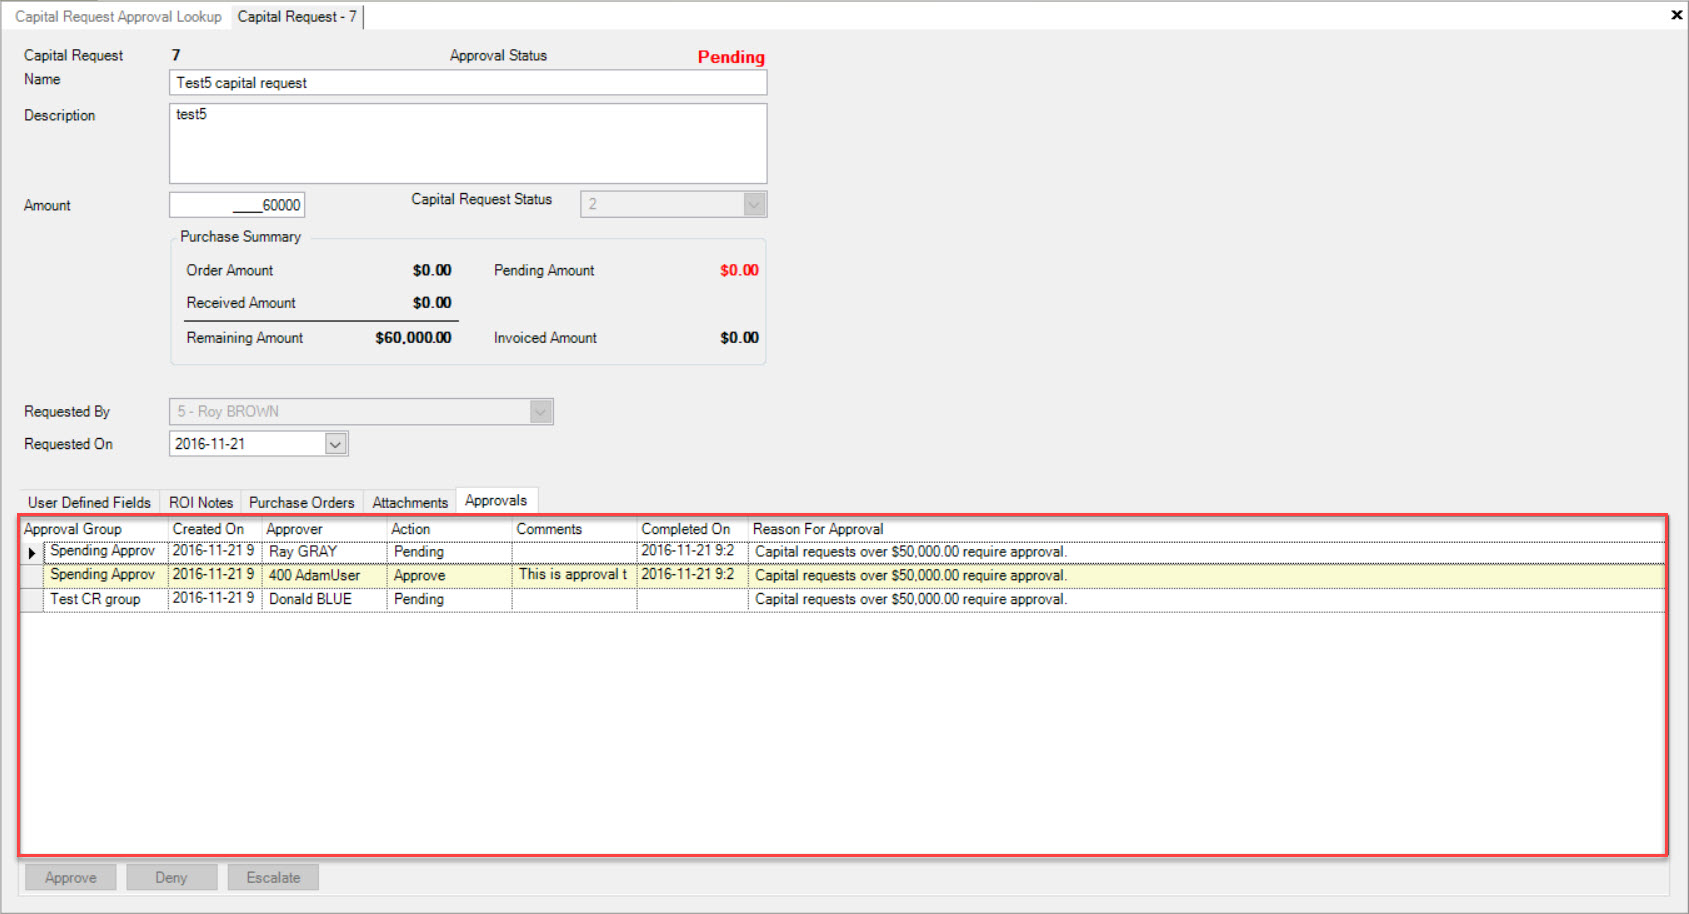
Double-click on the appropriate row of the Capital Request you wish to view Approval Groups for. The Capital Request detail screen will appear.

Make sure to select the  tab.
tab.
Users will be able to view the Approval Groups assigned to the selected Capital Request.
Linking a Capital Request to a Purchase Order
When creating a new Purchase Order users have the ability to link it to a specific Capital Request.
On the new Purchase Order screen using the Capital Request drop-down, select the Capital Request you wish the Purchase Order to be linked to.
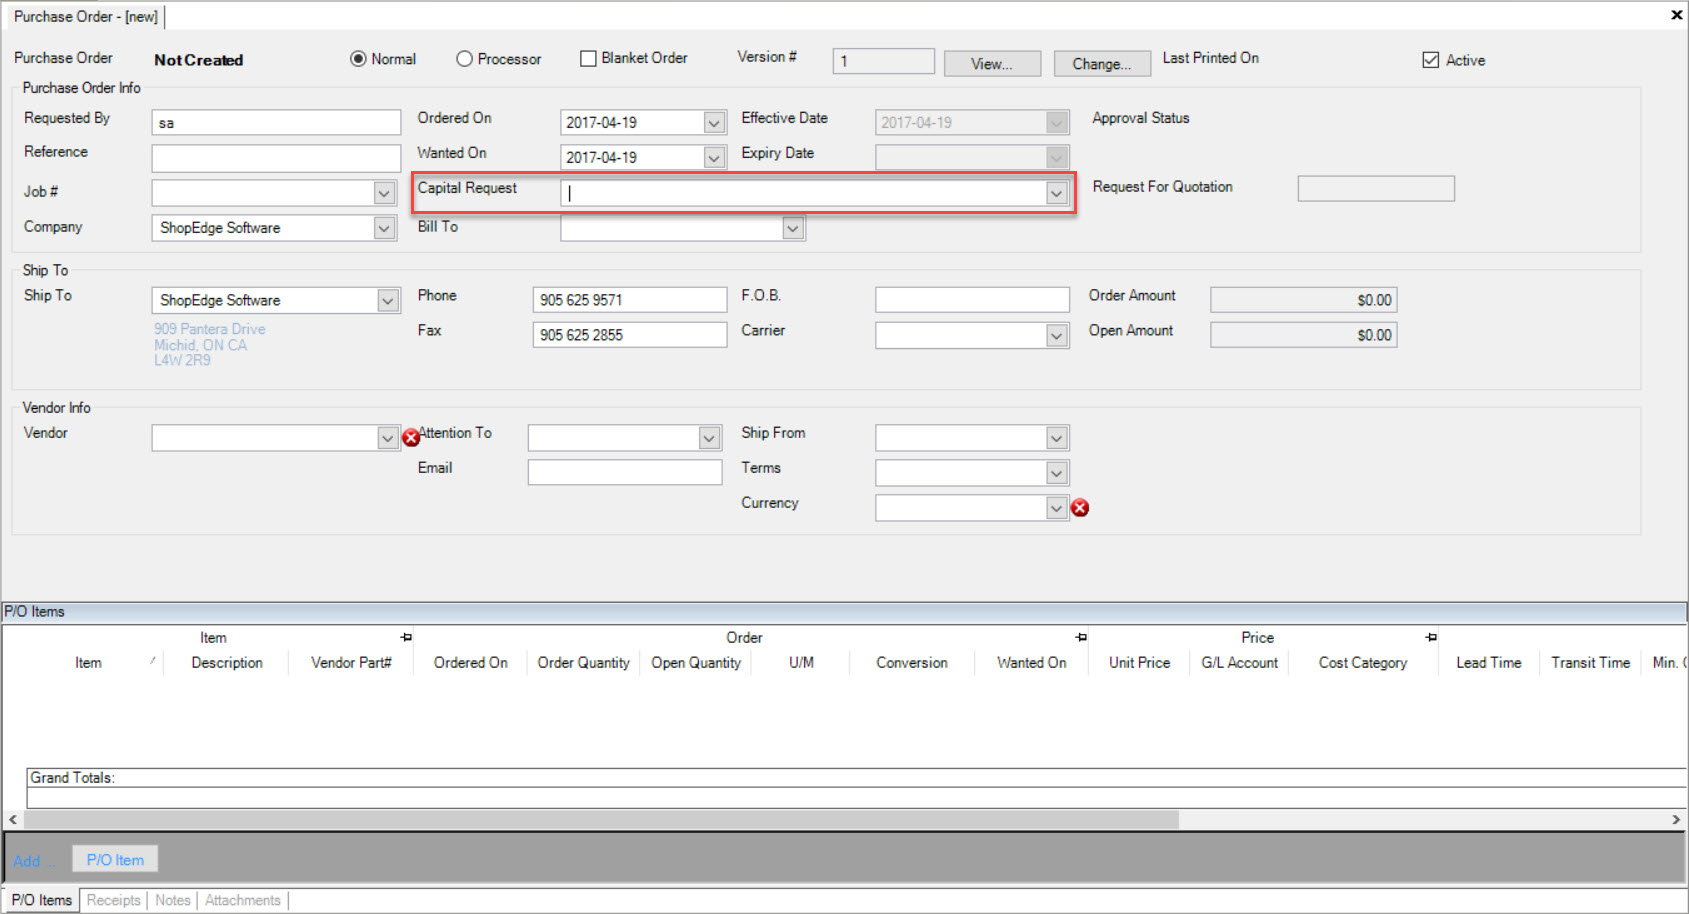
When users save the Purchase Order that is linked to a Capital Request, the approval status will change to Approval Not Required. However, in the event that the Purchase Order does go over the amount permitted, when the user attempts to save they will be met with a message.
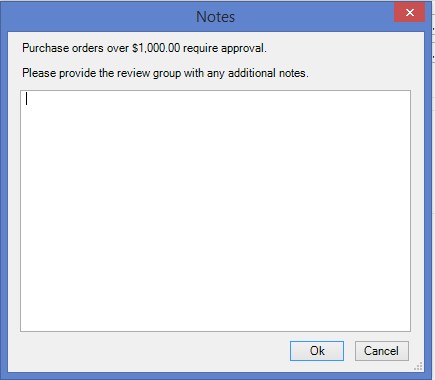
Users will then have the option to add a note and select Ok, at which point the approval status will be set to Pending.
If the user belongs to the Spending Approval Group that can approve the spending order by navigating to the bottom of the Capital Request detail screen and selecting the  tab.
tab.

The user will then have the option to Approve, Deny, or Escalate.

If the user approves, they will have the option to add a comment.
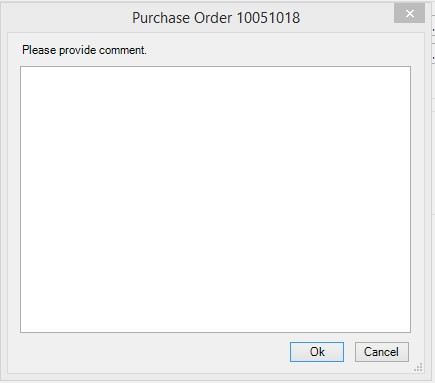
After approval, the status for the order will now read Approved.

The Capital Request that was linked to the Purchase Order, can now be found under the  tab on the Capital Request detail screen.
